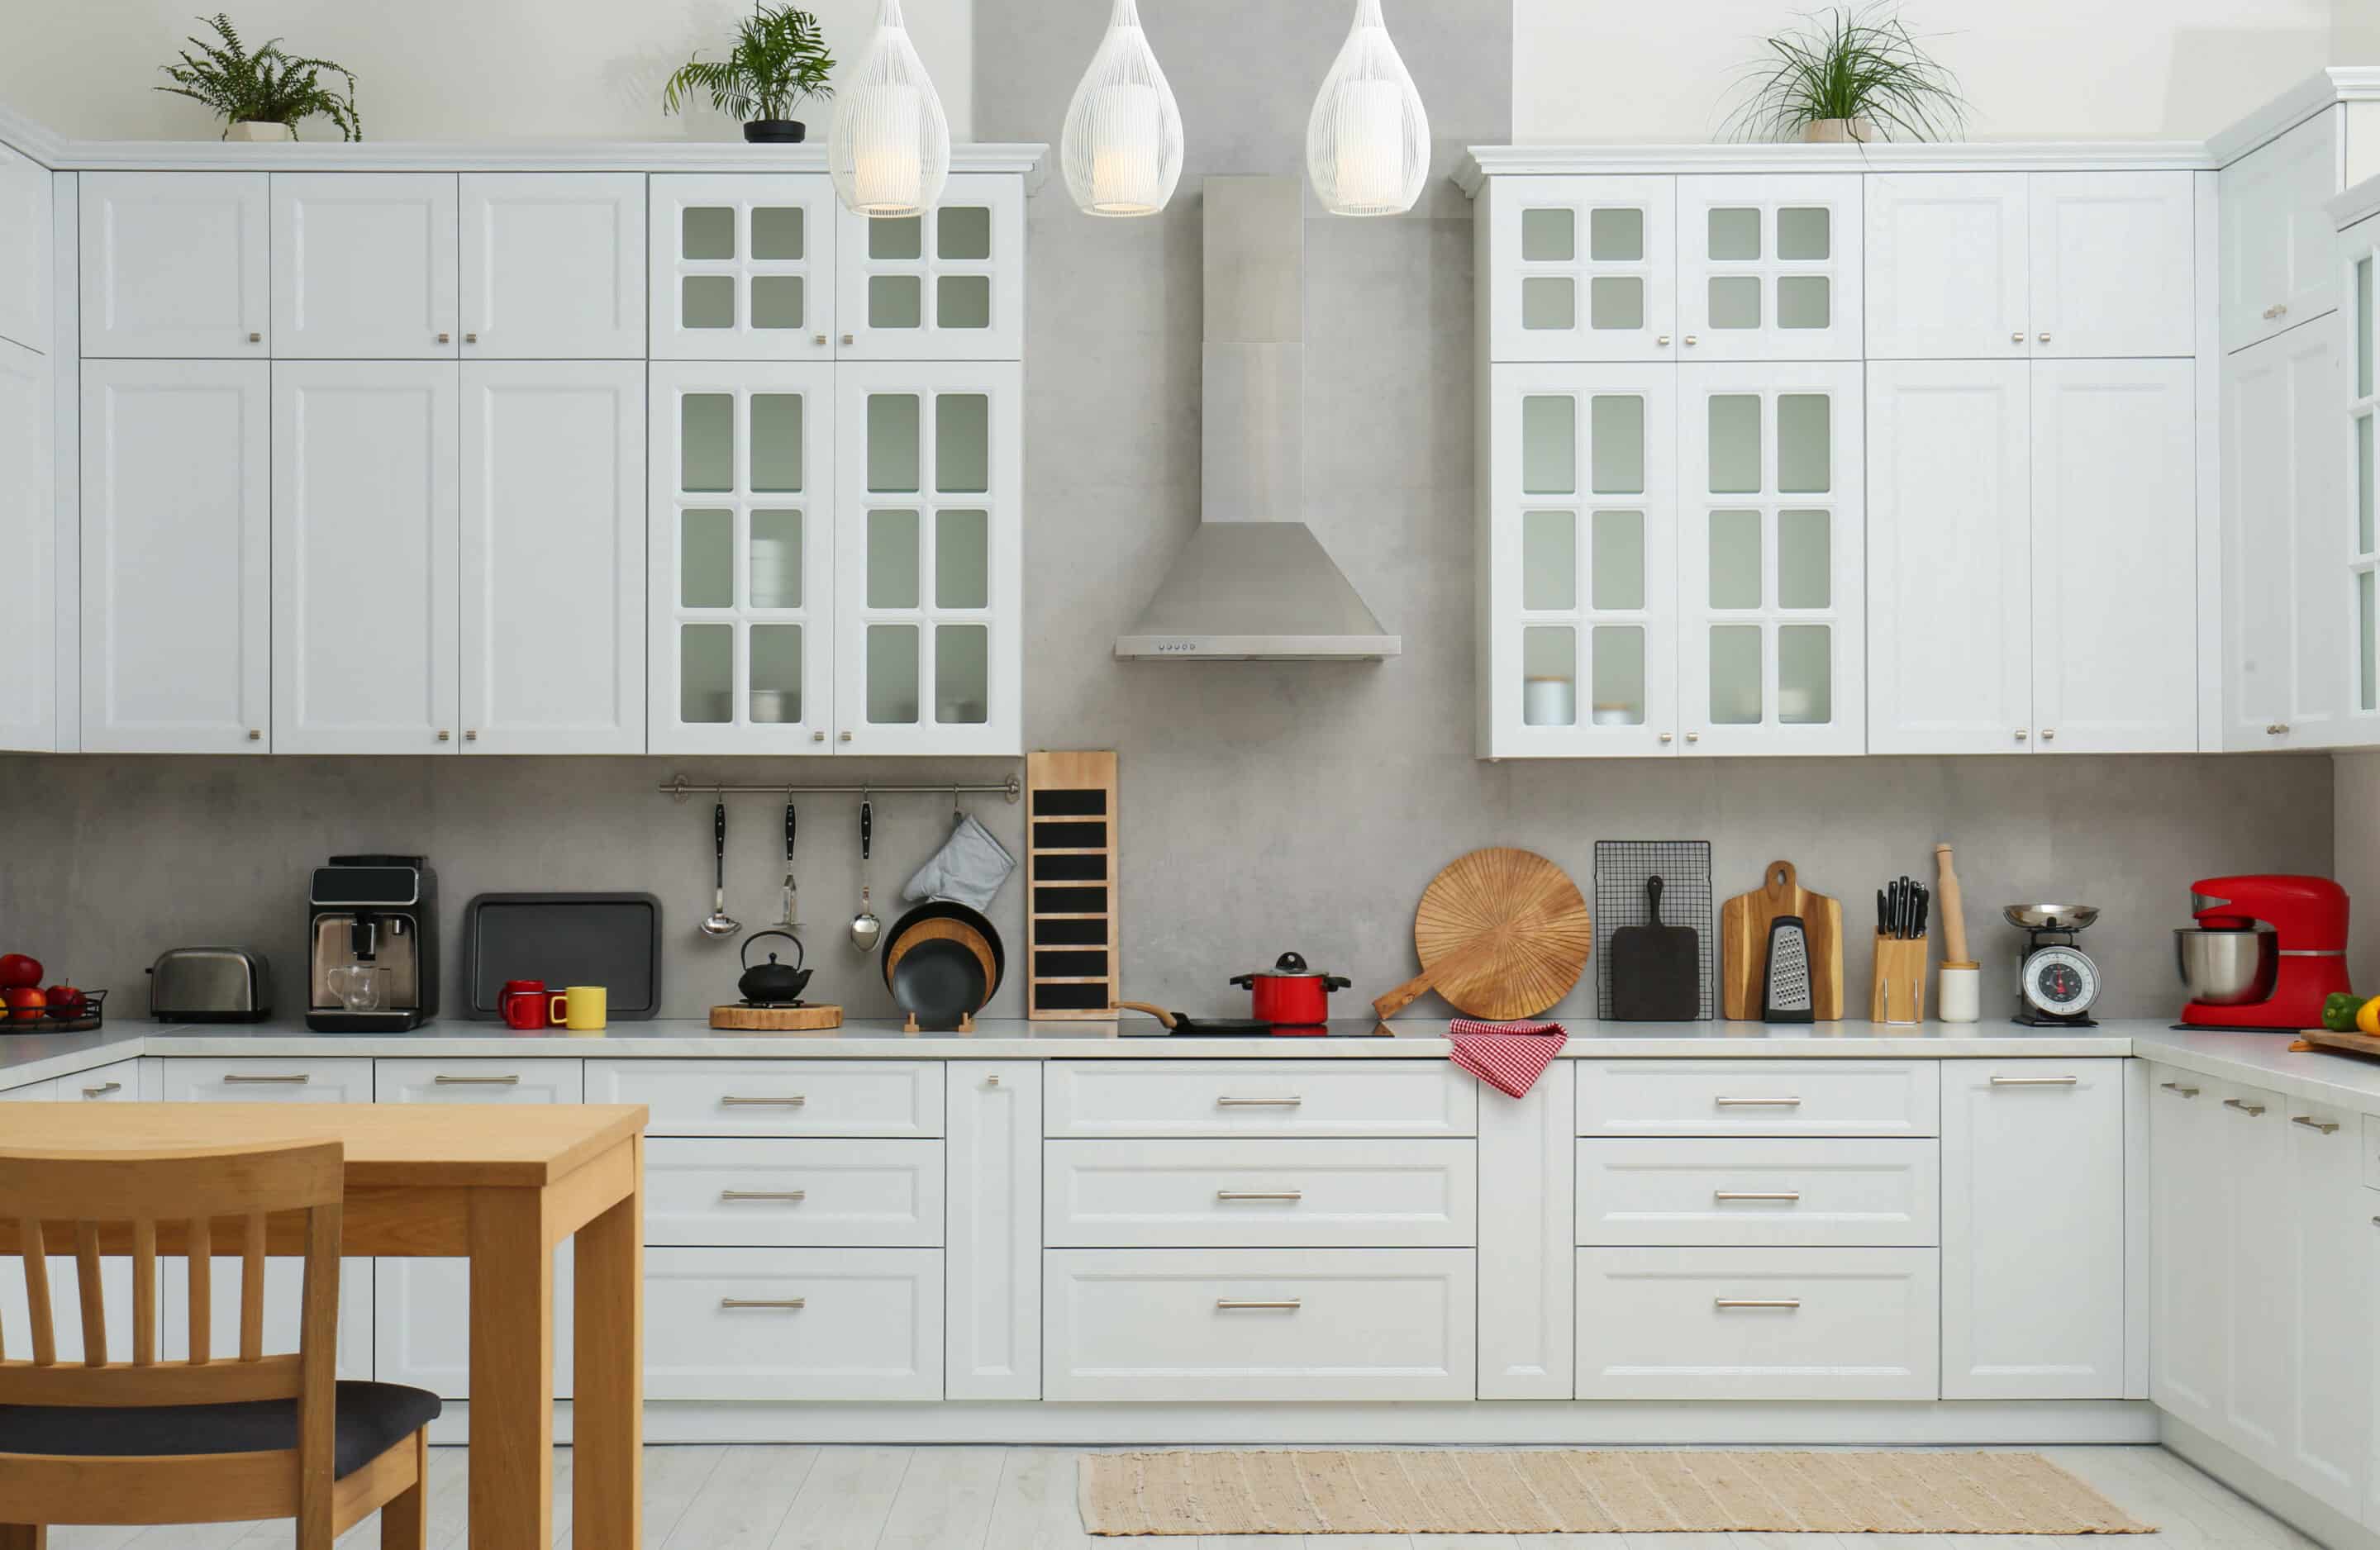
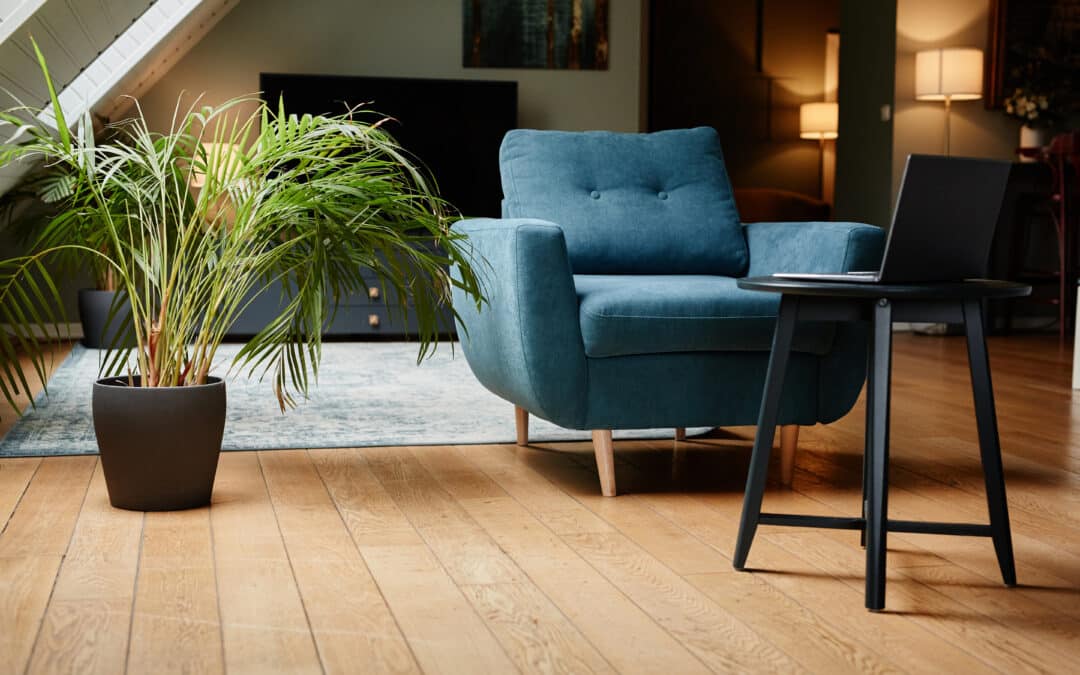
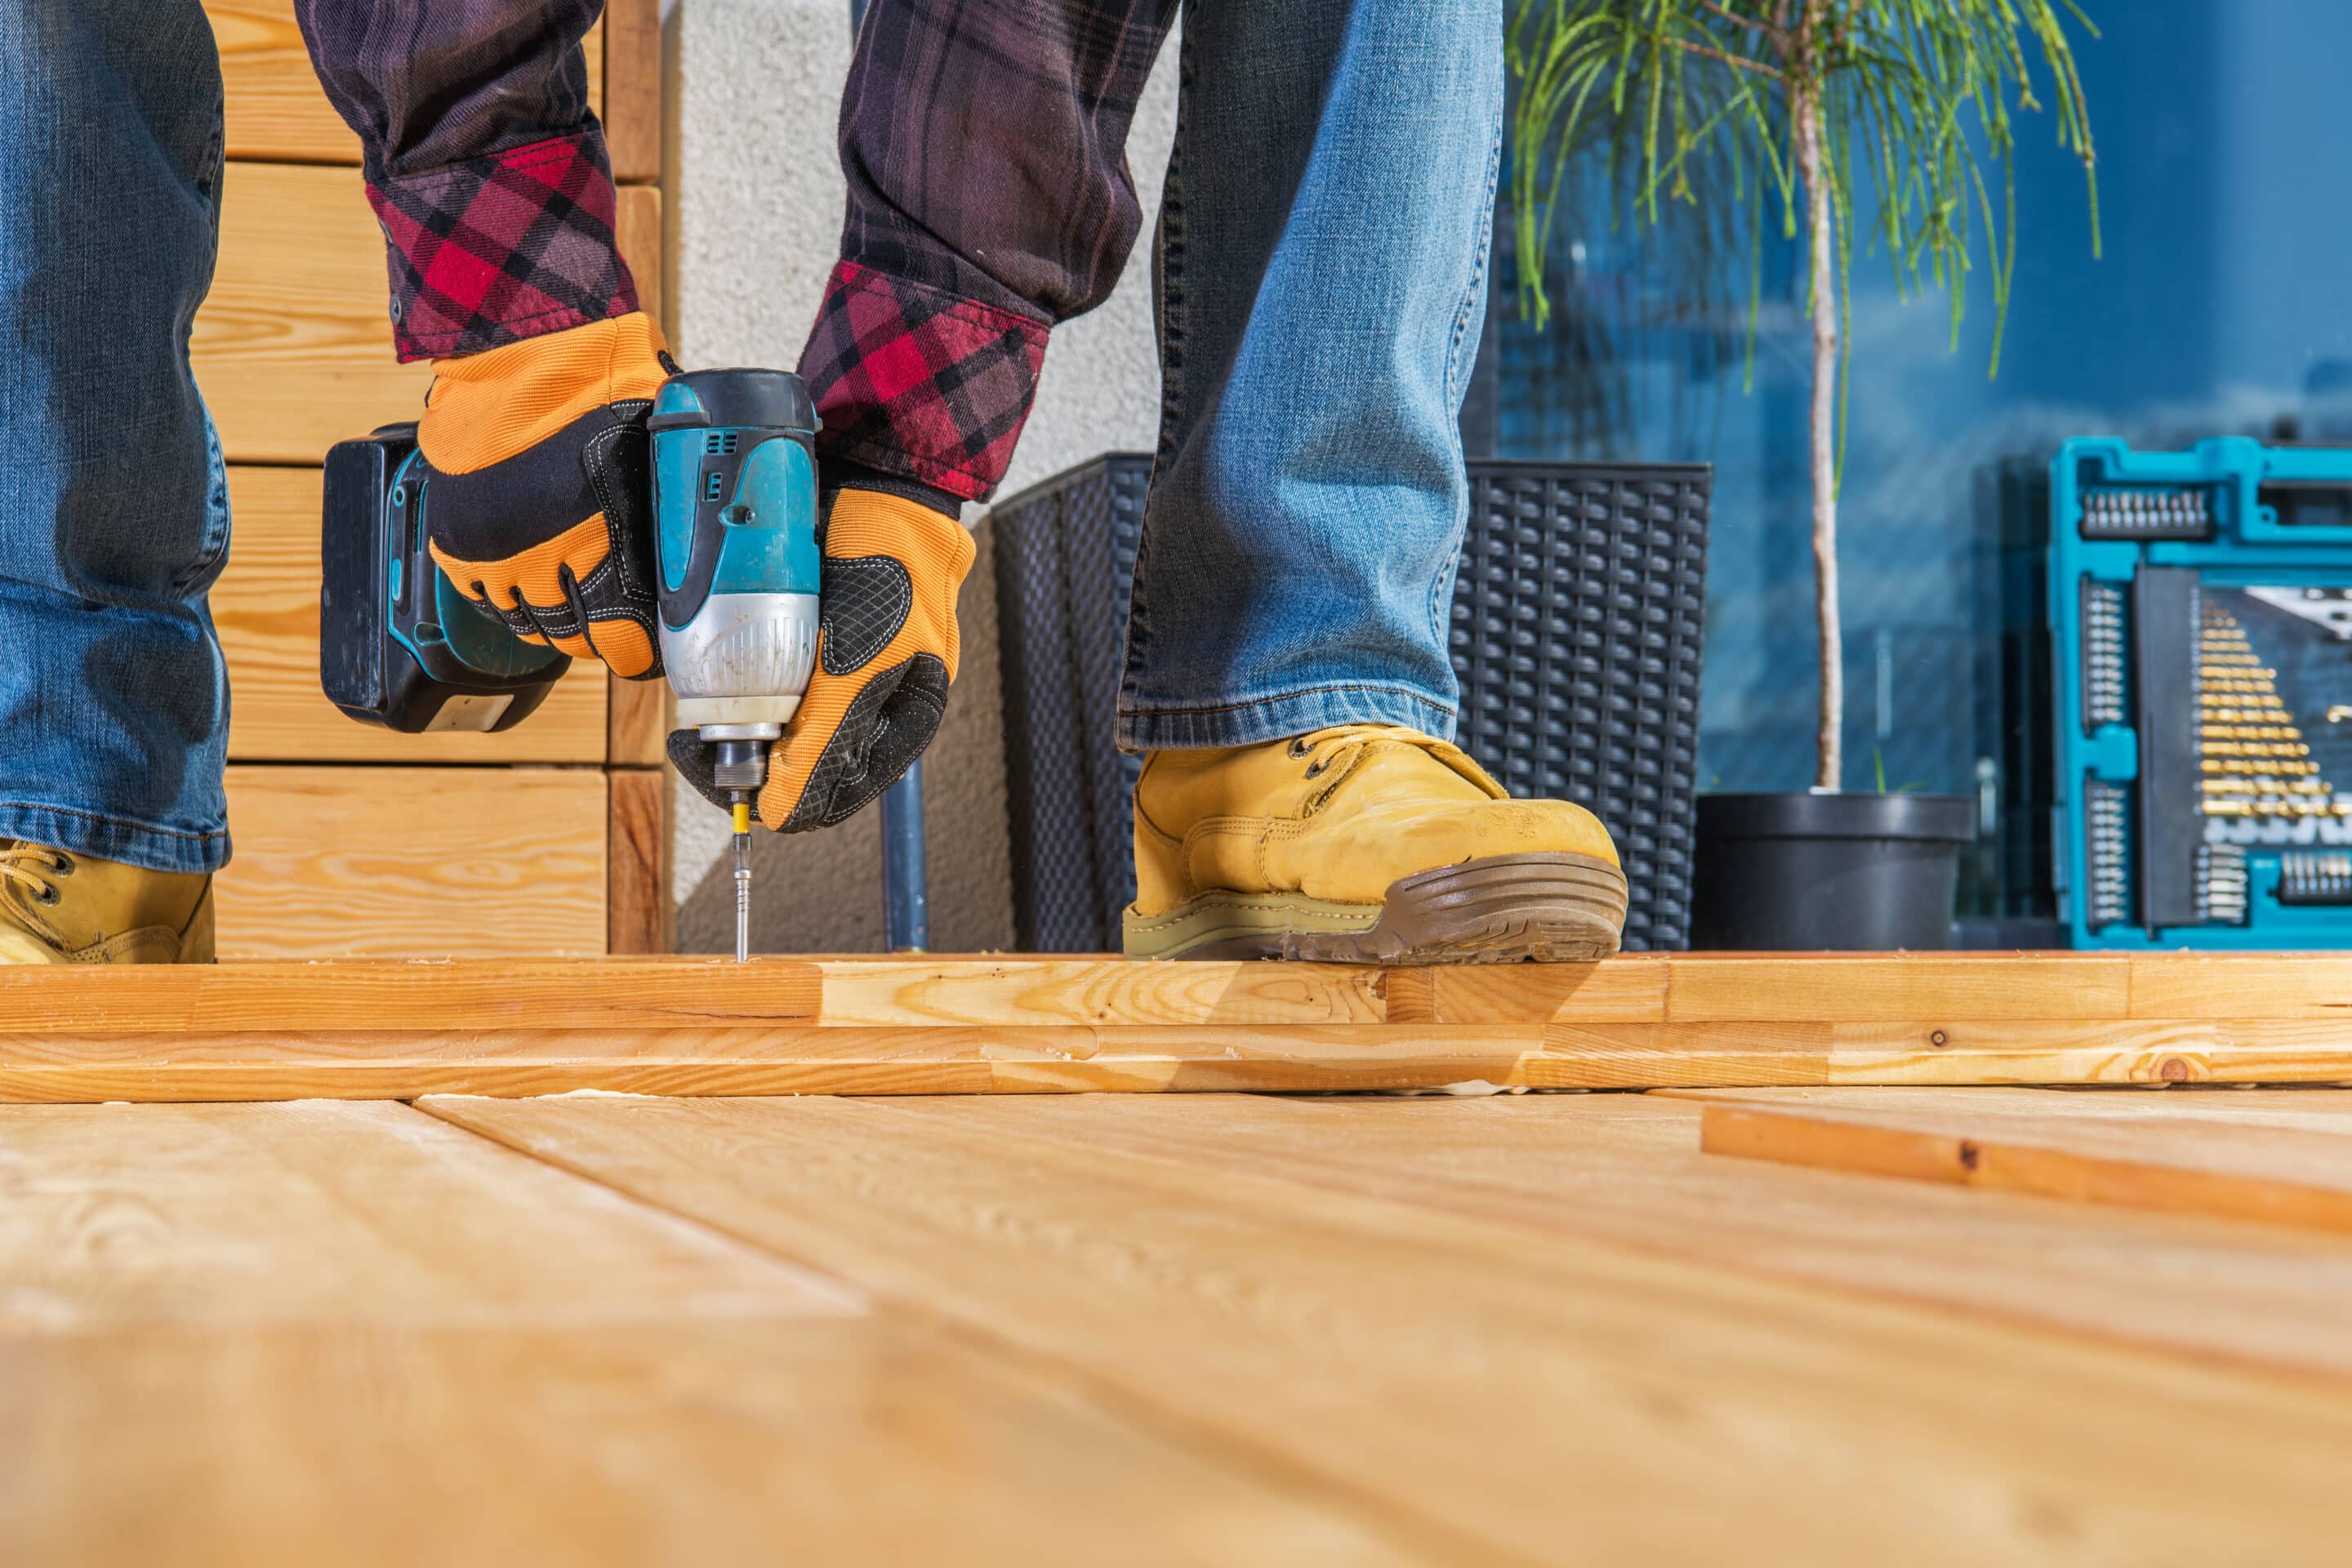
Paint or Floor First When Remodeling? The Proven Order of Operations

Paint or Floor First When Remodeling? The Proven Order of Operations

Planning a home renovation requires careful coordination to avoid costly mistakes. Homeowners frequently face a critical sequencing decision: should you paint or floor first when remodeling?
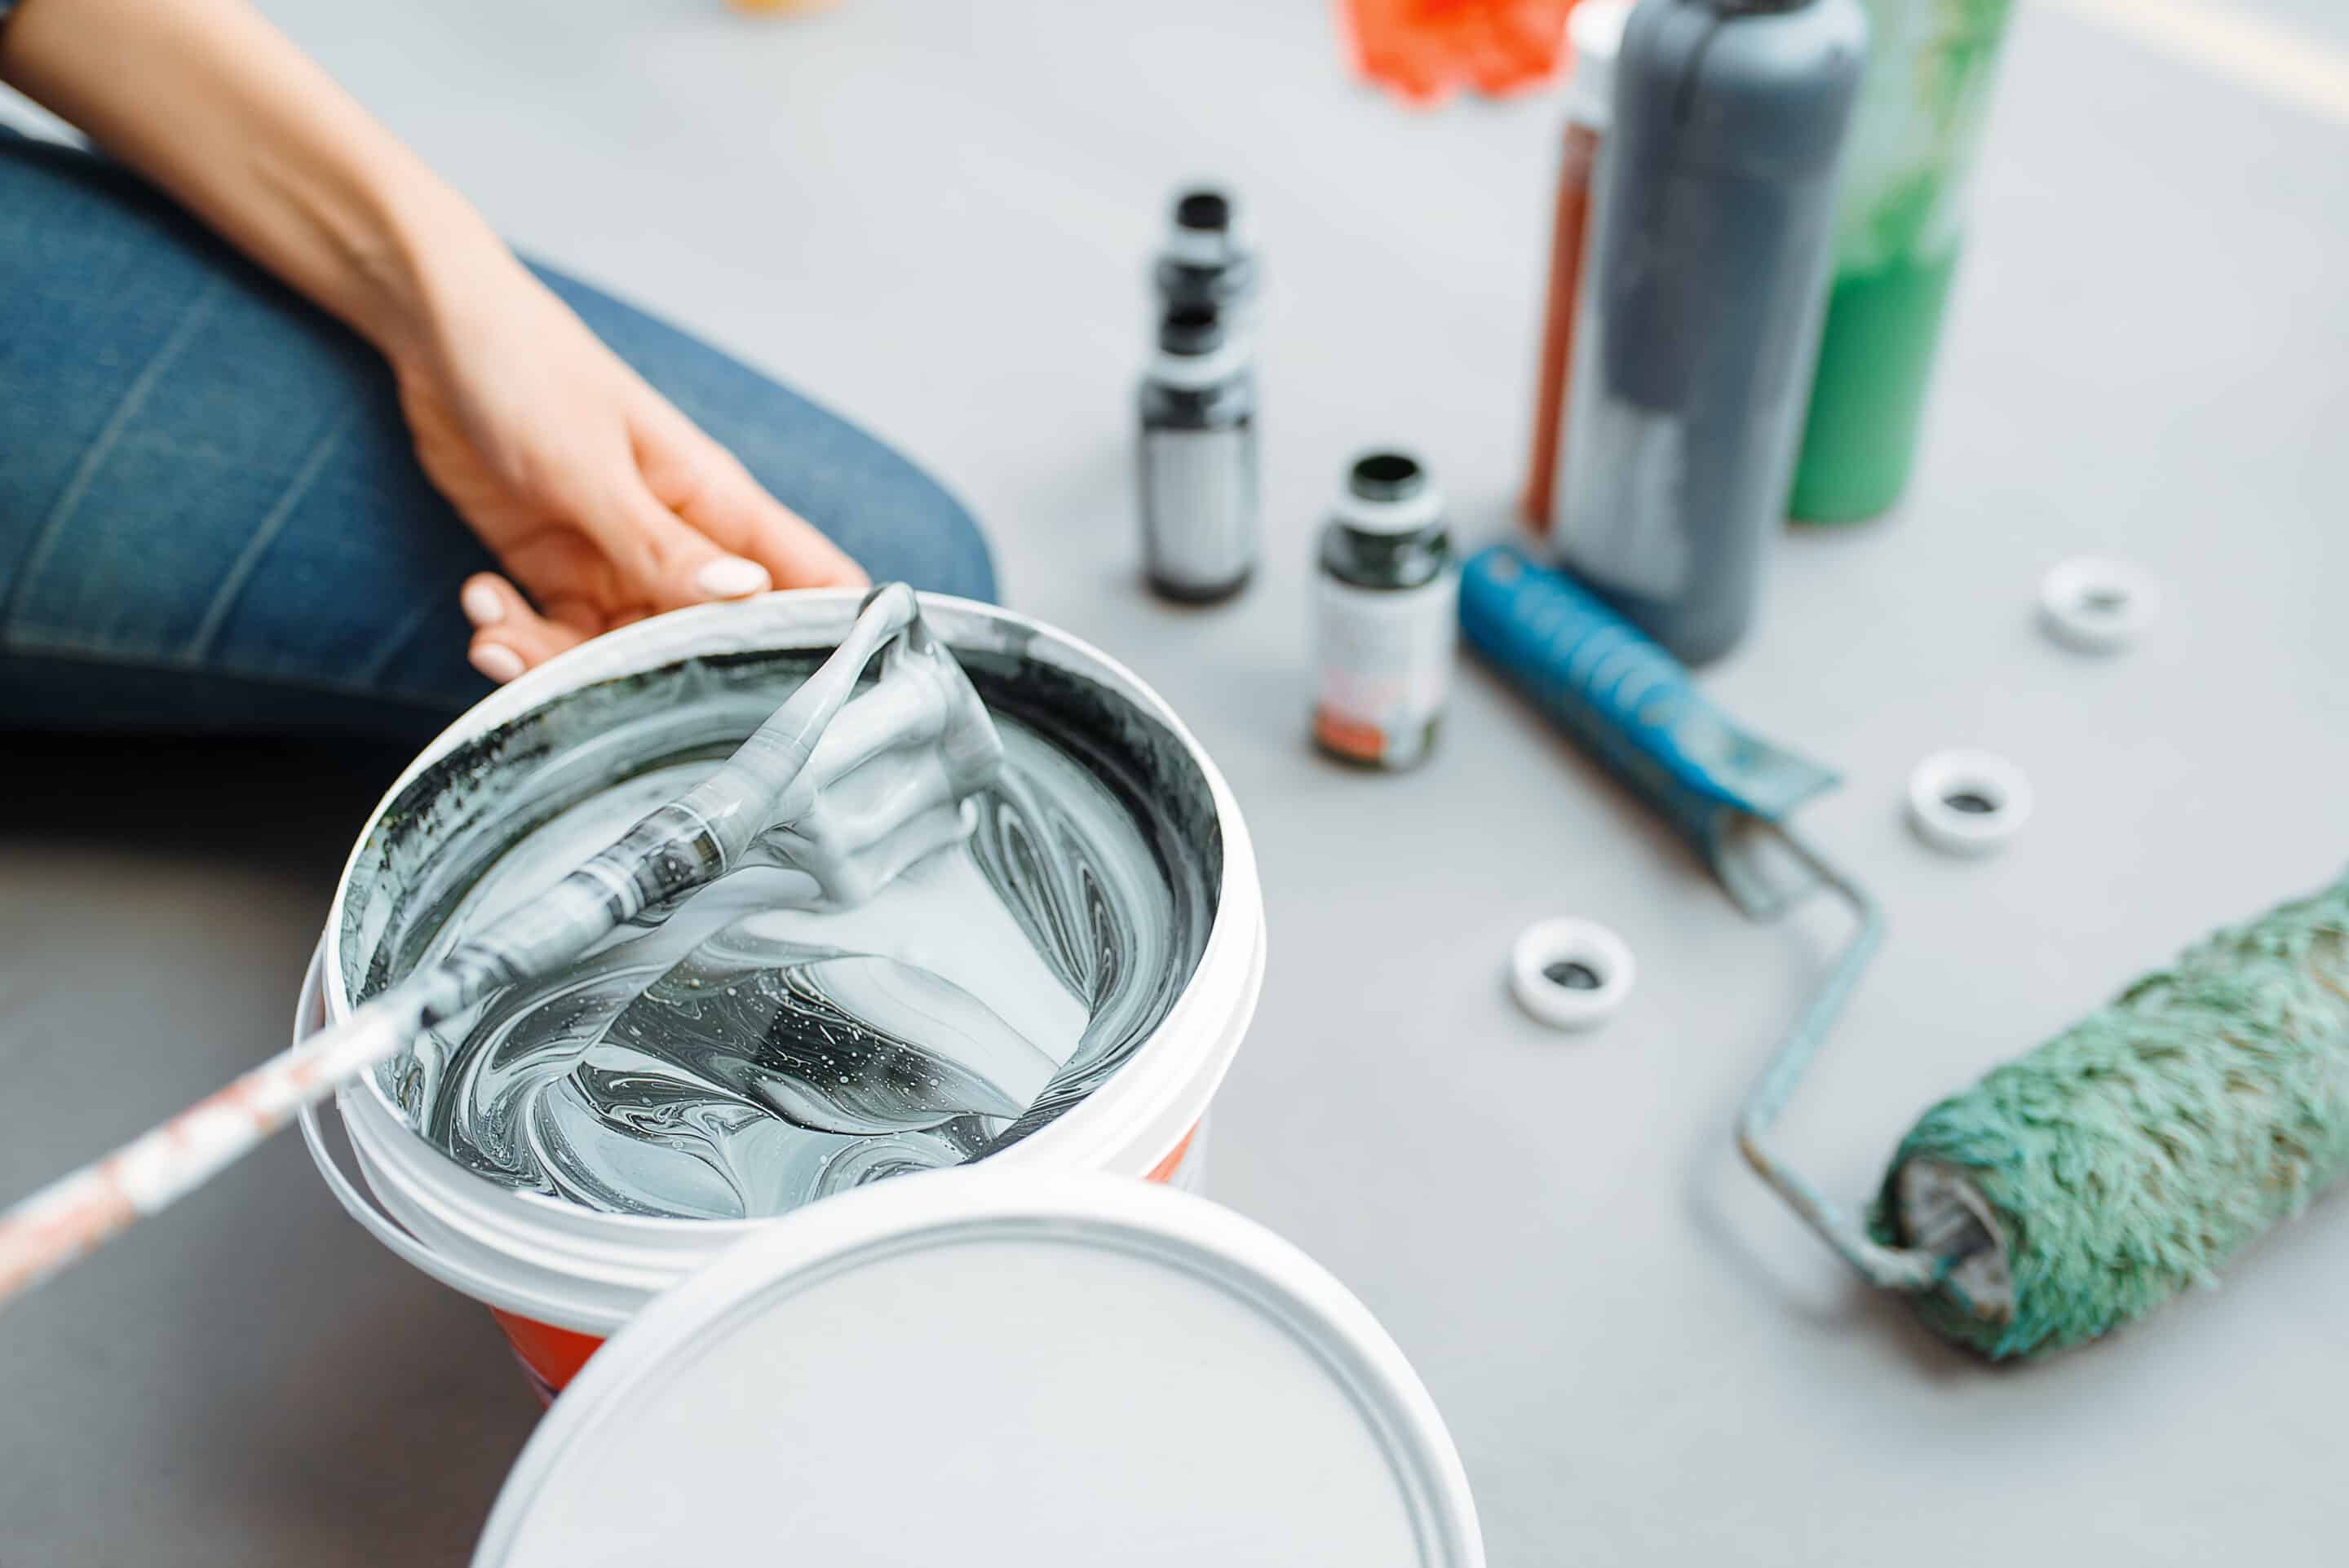
Paint Mixing

Executing trade work in the wrong sequence can lead to accidental paint drips on brand-new hardwood, scratched baseboards, or heavy construction dust trapped in wet wall paint. Understanding the correct professional order saves time, preserves your budget, and ensures flawless results.

Should You Paint or Floor First When Remodeling?

As a general rule for home interior remodeling projects in Texas, you should complete your wall and ceiling painting before installing new flooring.

Painting first protects your new floor investment from accidental paint spills, dropped tools, and ladder scuffs. While minor touch-ups may be required after floor installation, completing the primary painting phase first minimizes risk and simplifies cleanup.

The Strategic Remodeling Order of Operations

Following a standardized remodeling order of operations prevents overlapping trade conflicts and protects finished surfaces. Here is the step-by-step workflow used by professional contractors:

Step 1: Structural Changes and Drywall Prep

Complete all framing modifications, electrical rough-ins, and drywall installations first. Patch all nail holes, tape seams, and sand walls smooth.

Step 2: Ceiling and Wall Painting

Apply primer, followed by two coats of finish paint, on all ceilings and walls. Because dust and paint droplets naturally fall downward, completing overhead work early keeps lower surfaces clean.

Step 3: Demolition and Floor Prep

Tear out old carpet, tile, or laminate flooring after wall paint has fully dried. Prepare the subfloor by leveling, cleaning, and addressing moisture barriers.

Step 4: New Flooring Installation

Install your selected flooring material, whether it is luxury vinyl plank, tile, or solid hardwood. Installers can maneuver freely without worrying about wet paint or fresh wall finishes.

Step 5: Trim Installation and Final Touch-Ups

Install baseboards, shoe molding, and door trim. Perform final paint touch-ups on trim lines to achieve a seamless, polished finish.

When Should You Install Flooring Before Painting?
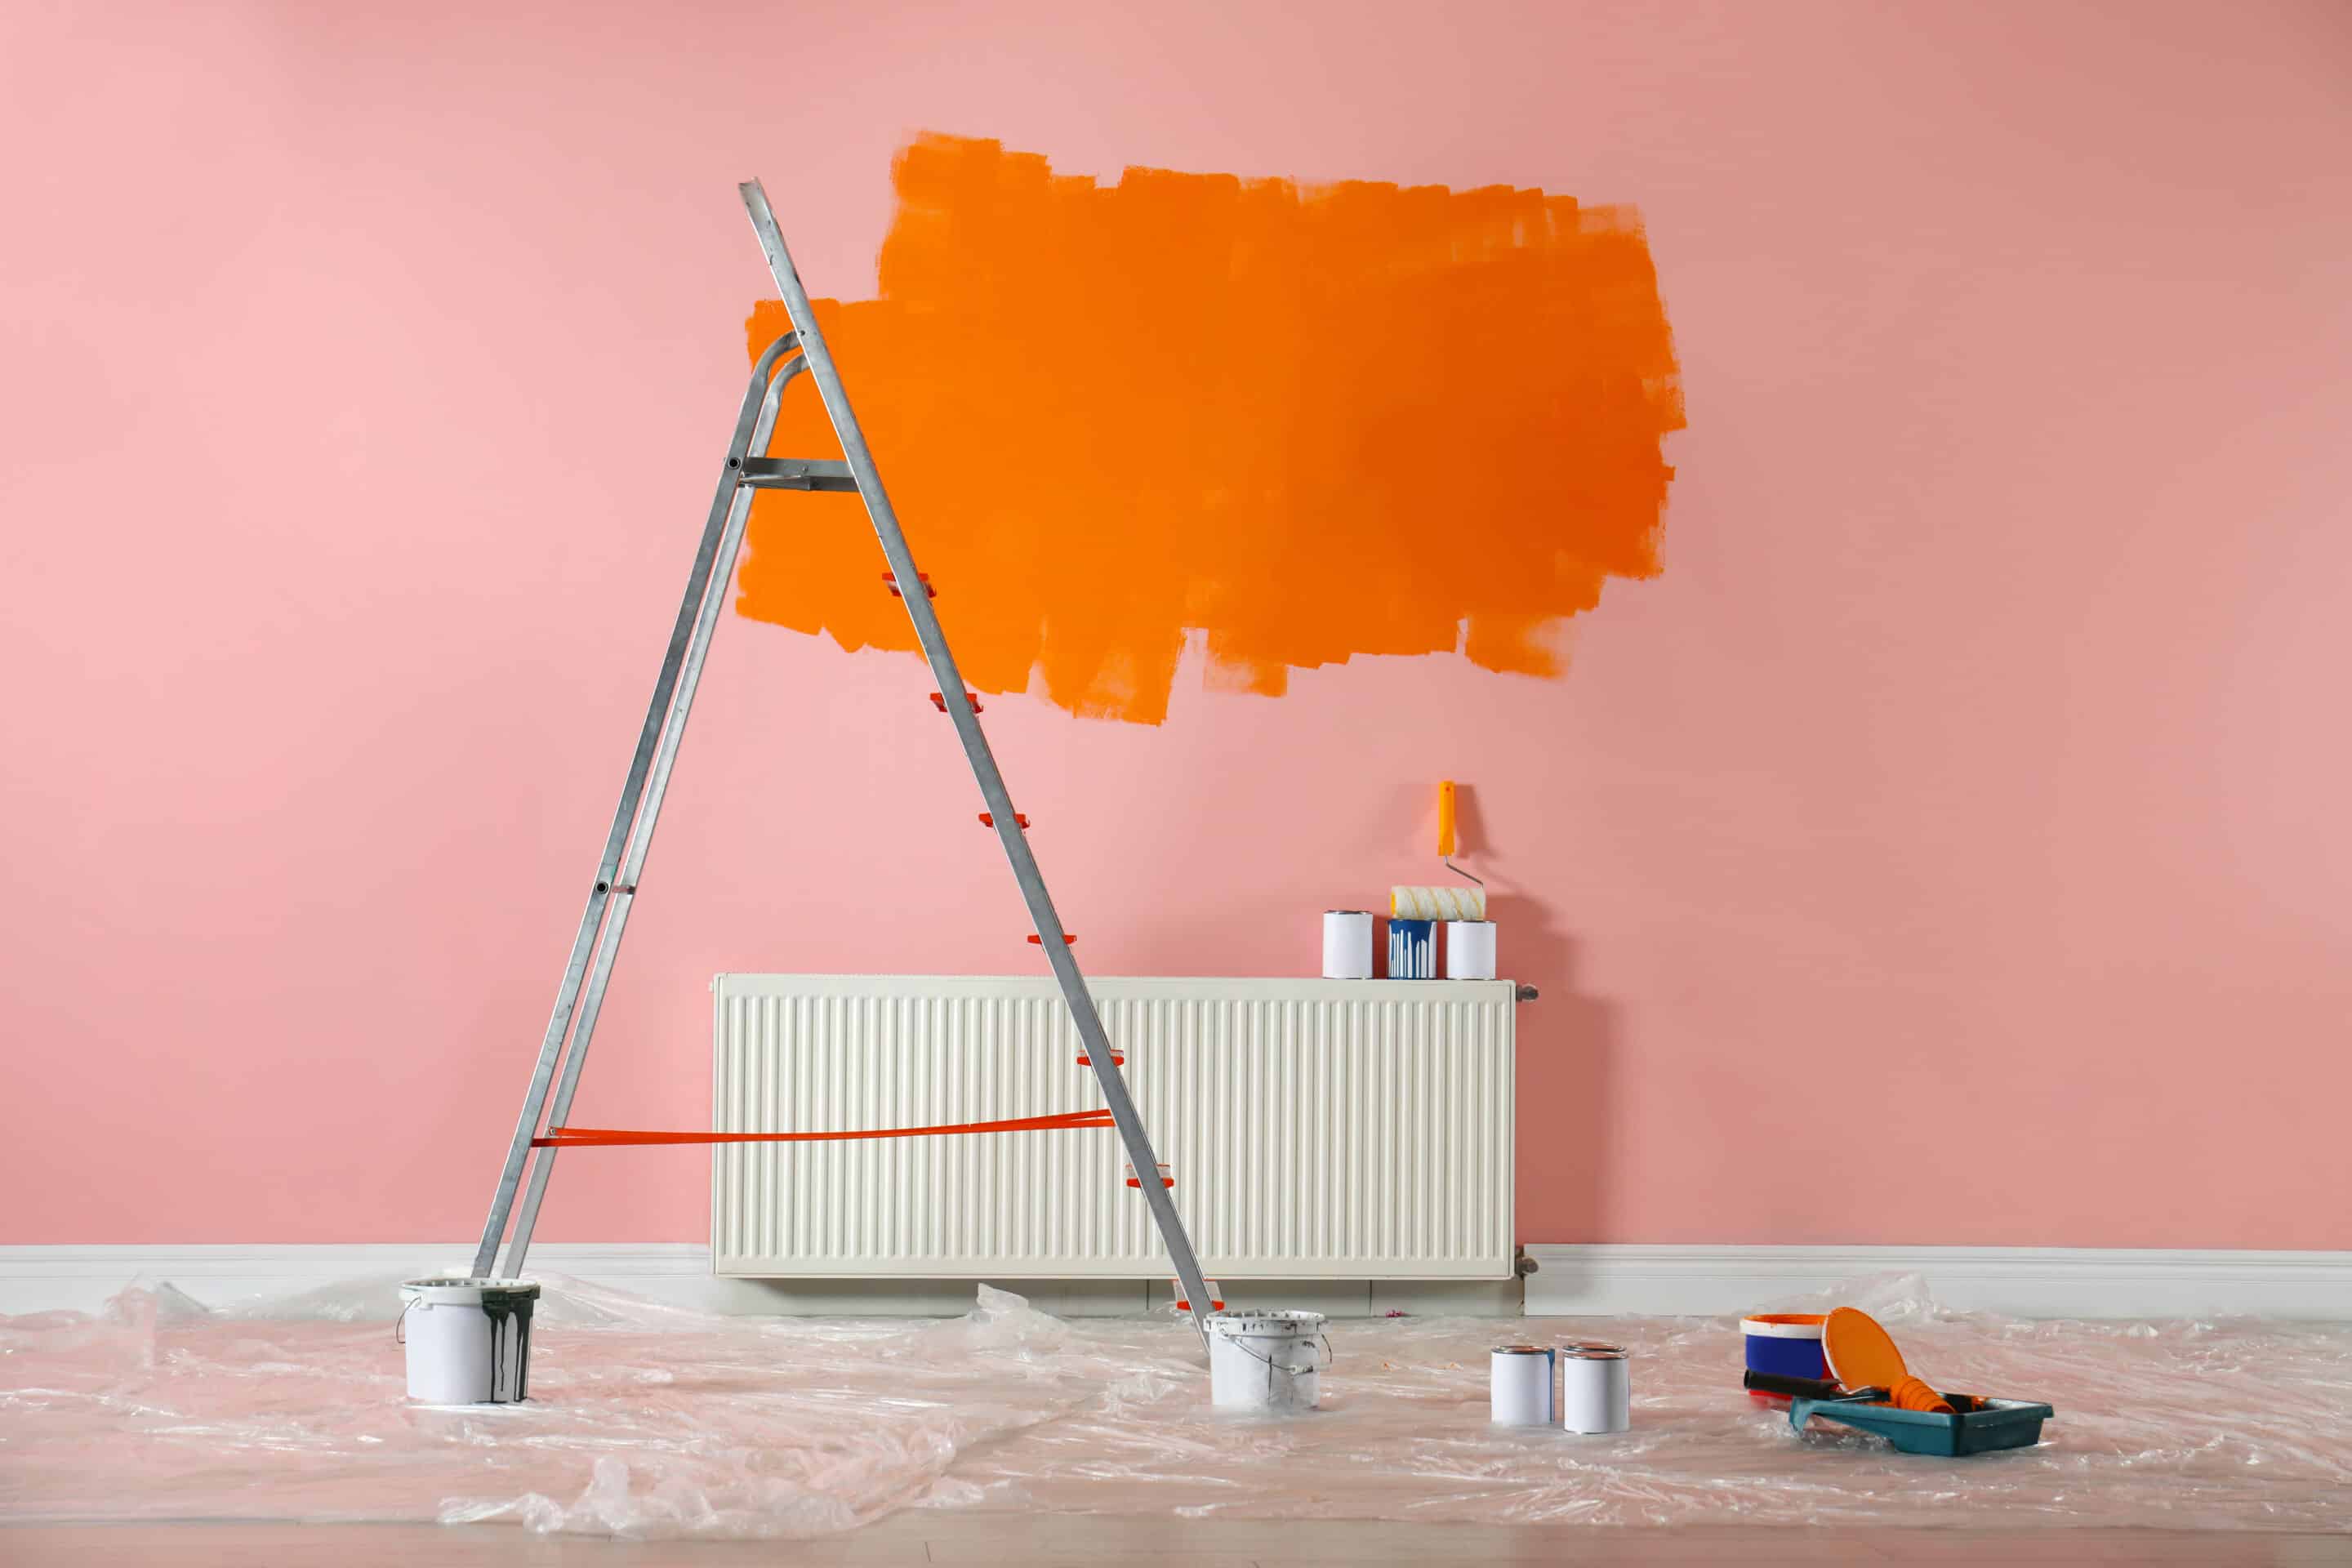
Interior Painting

While painting first is standard practice, specific installation scenarios require adjusting the schedule. Knowing when to deviate protects both your wall finish and floor warranty.

Site-Finished Hardwood Refinishing

Unfinished hardwood requires heavy mechanical sanding after installation. The process generates airborne wood dust that settles on fresh paint. In this case, apply a base coat to walls, sand and stain the floors, and apply the final wall coat after floor sealants cure.

Heavy Tile and Stone Installations

Installing heavy natural stone or large format tile involves mixing mortar and cutting materials on site. If heavy masonry equipment is moving through narrow hallways, completing wall painting after tile placement prevents scuffed drywall.

Key Benefits of Painting Before Floor Installation

Deciding whether you paint before or after new flooring impacts both the project timeline and labor costs. Here is why painting first delivers superior results:

  • Risk Reduction: Heavy paint cans, step ladders, and extension poles pose constant spill and scratch risks to new floors.
  • Faster Labor: Painters work faster when they do not need to meticulously mask every square inch of a brand new floor.
  • Cleaner Lines: Baseboards installed over new flooring cover the bottom edge of fresh wall paint, creating a clean boundary.

Practical Tips for Protecting Your Renovation

No matter which stage of remodeling you are in, taking basic protective measures prevents unexpected damage:

  • Allow Full Cure Time: Wall paint may feel dry to the touch in hours, but full curing takes up to thirty days. Give walls at least 24 to 48 hours before floor installers begin work.
  • Use Breathable Floor Protection: If painters must work above newly installed floors, cover surfaces with breathable paper builder rolls rather than non-breathable plastic sheeting.
  • Keep Spare Paint: Save extra wall and trim paint for quick spot repairs after all trades finish their work.

Frequently Asked Questions

Do painters remove baseboards before painting?

Painters generally leave baseboards attached unless full replacement or deep wall repairs are required. Removing baseboards can damage drywall surfaces.

Should baseboards be painted before or after flooring installation?

Baseboards should be painted before installation, then caulked, nailed, and touched up after being fitted against the new floor.

How long should I wait to install floors after painting?

Wait at least 24 to 48 hours after applying the final coat of wall paint before floor installers begin laying new materials.

Does carpet installation ruin freshly painted walls?

Carpet rolls are heavy and rigid, which can rub against walls during installation. Allowing paint to cure fully prevents scuffing during carpet placement.

Should I install kitchen cabinets before or after flooring?

Hardwood and tile should generally be installed before cabinets for a uniform surface height. Floating floors like laminate should be installed after cabinets.

What is the biggest mistake when scheduling a remodel?

The most common mistake is rushing floor installation before dirty trade work like drywall sanding and ceiling painting is completed.

Transform Your Home with Elegant Floors TX

Executing a home renovation requires reliable craftsmanship and smart scheduling. Whether you need expert floor installation, custom trim work, or complete interior updates, Elegant Floors TX delivers quality you can trust. Contact us today to schedule your consultation and plan your upcoming renovation project.
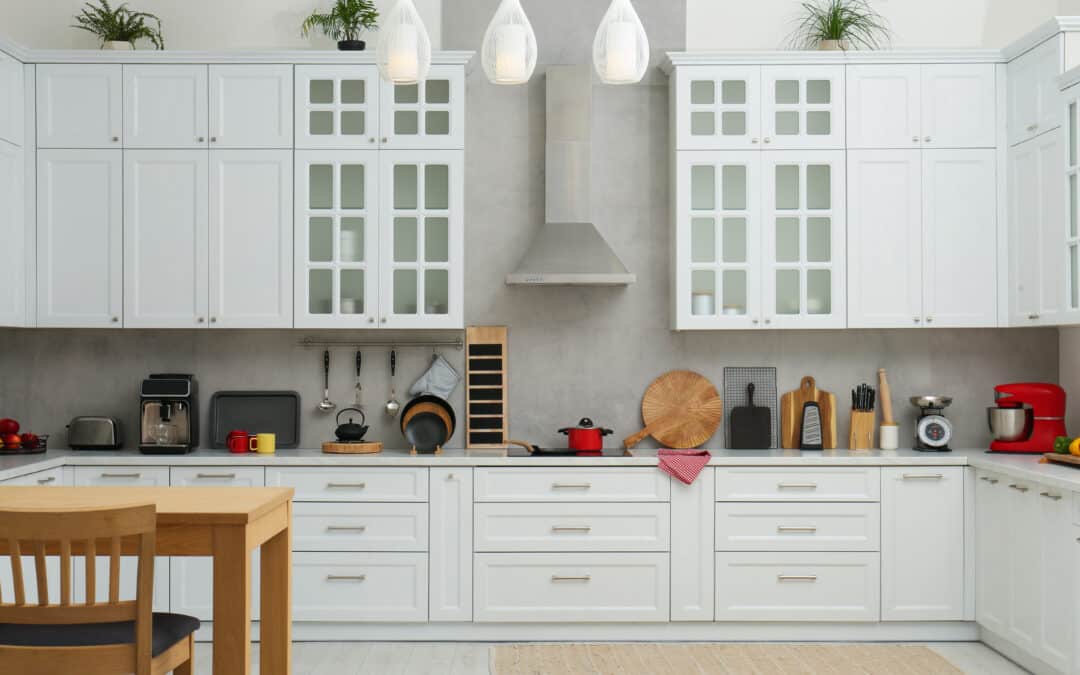
The Ultimate Professional Guide on How to Clean Wood Floors Safely

The Ultimate Professional Guide on How to Clean Wood Floors Safely

Wood Floors

Choosing the right maintenance routine for your hardwood is essential to preserving its natural beauty and structural integrity. Learning how to clean wood floors correctly protects your investment from scratching, warping, and premature finish degradation. This comprehensive guide outlines professional techniques to keep your wood floors looking flawless for decades.

Understanding Your Wood Floors and Finishes

Before introducing any liquid solutions to your surface, you must identify the type of protective seal applied to your planks. Modern installations typically feature surface seals like polyurethane, polycrylic, or urethane, which are highly water-resistant. Older or specialty installations might feature oil, wax, or penetrating seals that require entirely different maintenance approaches.

Testing your seal is simple. Place a single drop of water on a hidden area of the floor. If the water beads up, you have a modern surface seal. If the water quickly soaks into the wood structure, your floor requires specialized wax or oil treatments rather than liquid cleaners.

Step-by-Step Guide: How to Clean Wood Floors

To master safely cleaning wood floors, remove loose debris with a soft microfiber dust mop. Next, mist the surface lightly with a pH-neutral hardwood cleaner, avoiding excess moisture. Wipe the floor in the direction of the grain using a damp microfiber mop, and dry any remaining dampness immediately.

Step 1: Routine Dusting and Debris Removal

Daily foot traffic introduces micro-abrasives like sand, dirt, and grit onto your surface. Walking over these particles acts like sandpaper, slowly grinding away the protective top coat. Use a high-quality microfiber dust mop daily to lift away particulate matter without scratching the surface.

Step 2: Vacuuming with Caution

Vacuuming is highly effective for pulling dirt out from the grooves between planks. However, you must always deactivate the rotating brush roll or use a specialized hard floor attachment. Beater bars with stiff bristles can chip the finish and leave deep gouges across the wood grain.

Step 3: Choosing a Safe Cleaning Solution

Avoid using generic multi-surface cleaners, ammonia, or vinegar solutions on your hardwood. Vinegar is highly acidic and will gradually chemically strip away the shine of your polyurethane coat, leaving it dull. Opt instead for a commercial, pH-neutral spray specifically formulated for polyurethane-coated hardwood floors.

Step 4: The Strategic Mop Technique

Never use a traditional string mop and a bucket of water, as standing water is the leading cause of cupping and crowning. Use a spray bottle to apply a fine mist of cleaner directly to a microfiber pad or to the floor itself. Work in small, manageable sections, moving your mop along the natural direction of the wood grain to prevent streaking.

Wood floors

Crucial Maintenance Metrics for Longevity

Action Item Recommended Frequency Primary Material Benefit
Microfiber Dusting Daily Removes abrasive grit and surface dust
Targeted Mist Mopping Weekly Lifts stuck on grime and restores clarity
Professional Deep Clean Annually Extracts deeply embedded soil from wood grain
Screen and Re-coat Every 3 to 5 Years Renews the protective top polyurethane layer

Preventing Common Hardwood Damage

Proactive protection is far more effective than trying to repair deep gouges and water stains later. Place heavy-duty, breathable mats at all exterior entryways to catch dirt and moisture before they reach your main living spaces. Avoid using rubber-backed or vinyl mats, as they can trap moisture underneath and discolor the wood finish over time.

Equip all furniture legs with thick felt pads to prevent scratch marks when chairs or tables shift. Inspect these pads every few months, as they collect grit and eventually need to be replaced. Additionally, keeping pet nails trimmed reduces the risk of deep micro-scratches across your high-traffic hallways.

Maintaining proper indoor climate control is another overlooked aspect of wood floor maintenance. Hardwood expands and contracts with relative indoor humidity. Keep your home indoor humidity between 30% and 50% year-round to prevent your planks from gapping during dry winter months or buckling during humid summers.

Frequently Asked Questions

Can you use a steam mop on wood floors?

No, you should never use a steam mop on any hardwood. The intense heat combined with pressurized moisture forces water deep into the joints between the planks, causing irreversible warping, cupping, and finish peeling.

How do you clean high traffic wood floors without leaving streaks?

Streaks are typically caused by using too much cleaning product or using a dirty mop pad. To avoid this, use a pH-neutral cleaner sparingly in a fine mist, change your microfiber pad frequently during the process, and wipe in the direction of the grain.

Is a vinegar-and-water solution safe for cleaning hardwood?

Vinegar is not safe for long term hardwood care. Because vinegar is an acid, it slowly breaks down the protective polyurethane surface, resulting in a dull, hazy appearance that can only be corrected by refinishing.

How often should you mop wood floors?

Dust mopping should be done daily to prevent scratching from loose dirt. Liquid cleaning with a damp microfiber pad and a specialized spray should only be done weekly or biweekly depending on foot traffic.

What should I do if my wood floors look dull?

If your surface is dull but free of deep scratches, it likely has product buildup or a worn topcoat. Avoid temporary shine restorers, which create a sticky film, and instead seek a professional screen and re coat to apply a fresh layer of polyurethane finish.

How do I remove scuff marks from hardwood?

Light scuff marks can often be gently rubbed out with a clean, damp microfiber cloth or a specialized hardwood cleaning spray. For stubborn rubber shoe marks, gently rub the spot with a clean tennis ball to lift the residue safely.

Elevate Your Home with Professional Floor Care

While routine care keeps daily grime at bay, heavy traffic eventually wears down even the toughest protective coatings. When your planks require professional restoration, screen-and-recoat services, or a complete structural sand-and-finish, relying on certified experts ensures the job is done safely. Contact Elegant Floors to schedule an inspection or discover our premium options for restoring the timeless beauty of your home.

How to Build Custom Kitchen Cabinets?

How to Build Custom Kitchen Cabinets?

Kitchen cabinets

To build custom kitchen cabinets, start by designing a precise cutting list for your plywood carcass pieces. Cut the cabinet sides, bottom, and back panels, then assemble them using pocket-hole joinery or dado grooves, reinforced with wood glue. Next, construct and attach a solid wood face frame, hang the doors, and install the completed units perfectly plumb.

Achieving a professional-grade finish requires breaking the construction process into manageable phases. Rushing through the layout or compromising on material preparation inevitably leads to alignment issues during the final installation.

Selecting the Right Materials for Cabinetry

The longevity of your casework depends heavily on the materials you select. Unlike furniture that is used only occasionally, kitchen storage units endure constant weight distribution, humidity fluctuations, and mechanical friction from daily use.

Cabinet Box Materials

Cabinet boxes, or carcasses, are almost universally built using three-quarter-inch hardwood plywood. This engineered wood resists warping much better than solid wood when exposed to kitchen moisture. Look for plywood featuring a smooth veneer core, such as maple or birch, to ensure clean cuts without excessive splintering.

Face Frames and Doors

Solid hardwood is the industry standard for face frames, cabinet doors, and drawer fronts. Hard maple, oak, and cherry are popular species because their dense grain structures resist dents and scratches. If you plan on painting your finished storage units, paint-grade maple or high-density fiberboard for the door panels will provide a perfectly smooth surface.

Essential Tools and Workstation Setup

Before making your first cut, gather the correct equipment to ensure safety and precision. Accurate joinery is impossible without flat surfaces and sharp blades.

  • Table Saw or Track Saw: Essential for making perfectly straight, square rip cuts across large sheets of heavy plywood.
  • Pocket Hole Jig: Allows for rapid, incredibly strong hidden joints without the need for complex traditional mortise woodworking.
  • Router with Dado Bit: Used to cut clean channels that support shelf weight and lock case panels together.
  • Right-Angle Clamps: Keeps your assembly square while wood glue cures and screws are driven home.

Step-by-Step Cabinet Construction Process

Building custom storage units requires a strict order of operations to prevent measurement compounding errors.

1. Breaking Down the Sheet Goods

Begin by referencing your master cut list to rip the plywood sheets into the side panels, bottoms, and top stretchers. Standard base cabinets generally feature a depth of 24 inches and a height of 34 and a half inches. Always use a dedicated plywood blade with a high tooth count to minimize tear-out on the face veneers.

2. Cutting the Toe Kick

Base cabinets require an inset cut-out at the bottom front corner called a toe kick, which allows you to stand close to the counter comfortably. Measure and mark a space four inches high and three inches deep on the bottom front edge of both side panels. Cut this profile out carefully using a jigsaw.

3. Assembling the Carcass

Drill pocket holes along the outer edges of the bottom panel and the top support stretchers. Apply a continuous bead of quality wood glue to the joints, clamp the pieces securely at a perfect 90-degree angle, and drive in one-and-a-quarter-inch pocket screws. Check for square by measuring diagonally from corner to corner; the two diagonal dimensions must match exactly.

Designing and Attaching the Face Frame
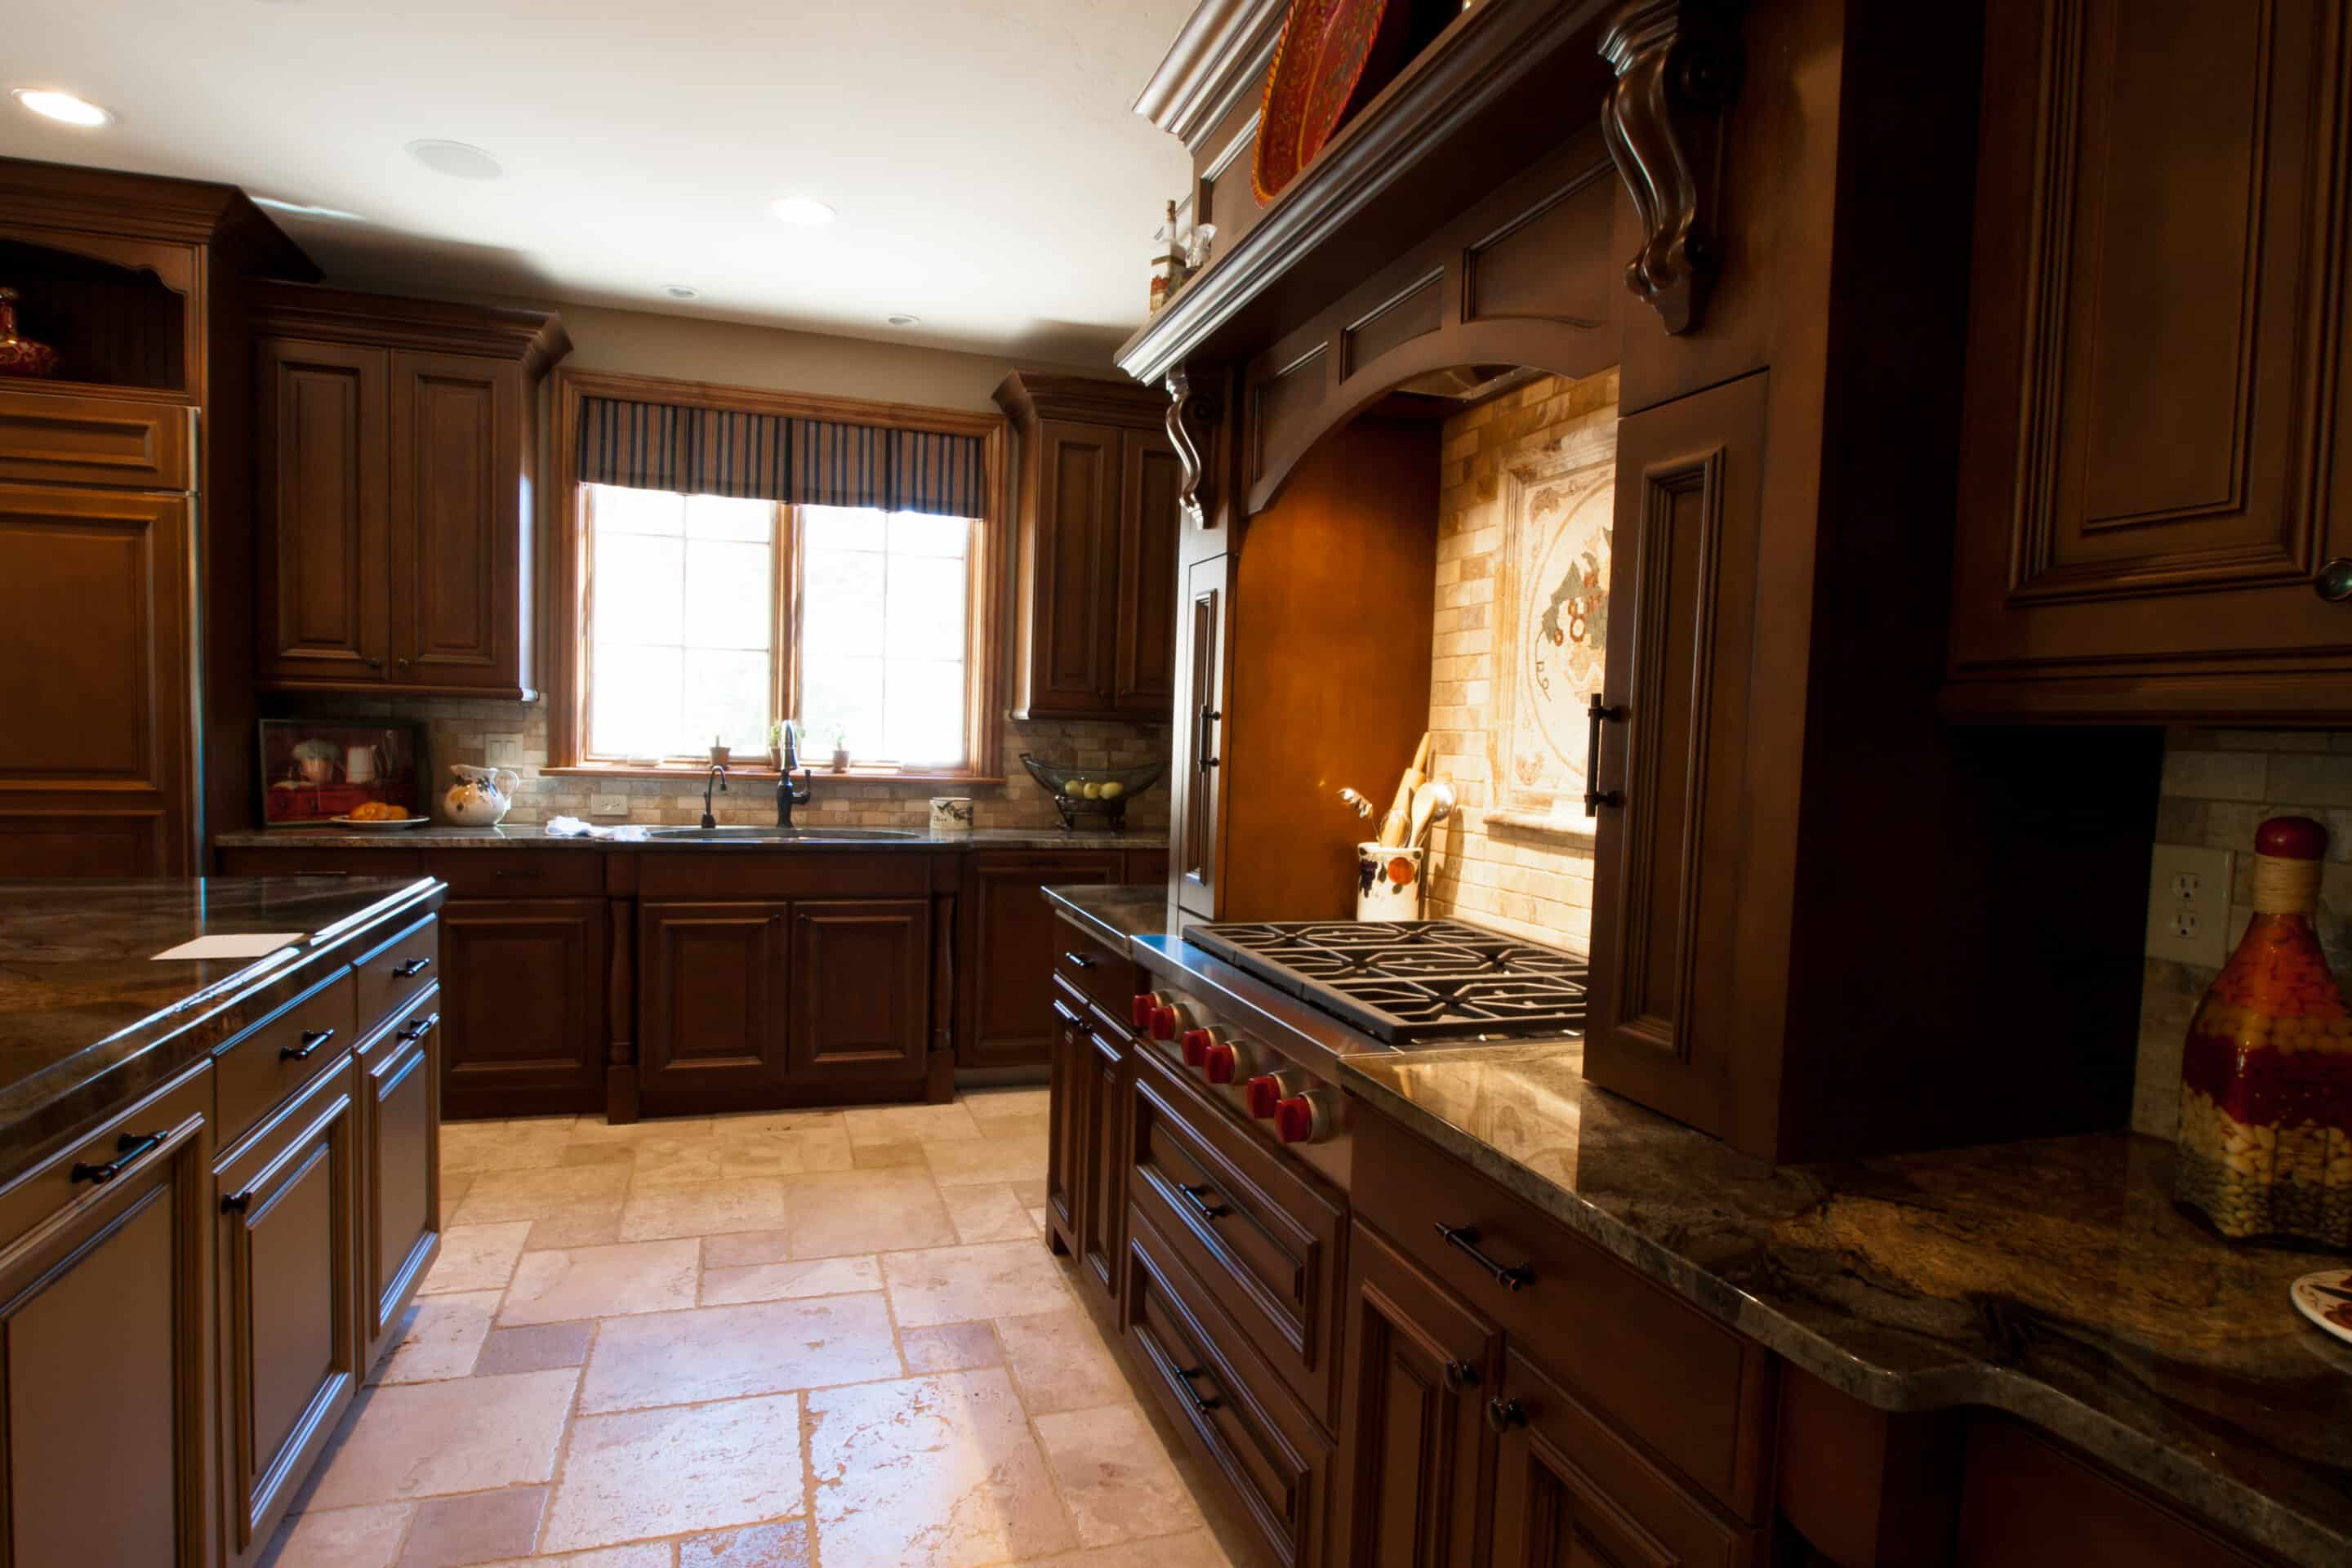
Kitchen cabinets

A face frame covers the raw plywood edges of the box and provides structural rigidity to the front opening. It also serves as the solid mounting point for your cabinet hinges.

Frame Component Standard Material Common Dimensions
Stiles Solid Hardwood 2 Inches Wide
Top Rail Solid Hardwood 2 Inches Wide
Bottom Rail Solid Hardwood 1 and 1/2 Inches Wide

Assemble the face frame independently using pocket-hole joinery on the back of the rails. Once assembled, apply wood glue to the front edge of the plywood carcass, center the frame with a slight, even overhang on both sides, and secure it using finish nails or hidden clamps until dry.

Finishing, Sanding, and Final Assembly

Once the structure is sound, fill any visible nail holes with paintable or stainable wood filler. Sand the entire unit using a progressive grit sequence, starting with 120-grit sandpaper to remove tool marks, and finishing with 220-grit for a silky texture. Apply your preferred stain or primer in thin, uniform coats, lightly scuffing with a fine pad between layers to build a durable barrier.

When your custom build is complete, ensuring your kitchen floors match the premium quality of your new cabinetry elevates the entire renovation. If you need inspiration or professional guidance on complementary surface selections, exploring materials at Elegant Floors can help coordinate your wood tones beautifully.

Frequently Asked Questions

What is the best wood thickness for building cabinet boxes?

Three-quarter-inch plywood is the ideal thickness for cabinet sides, bottoms, and shelves because it provides excellent structural integrity, holds screws tightly, and resists sagging under heavy dishware loads over time.

Do I need a face frame for custom kitchen cabinets?

No, you can build frameless or European-style cabinetry where the doors cover the entire raw edge of the box, but face frames add substantial structural strength and offer a classic traditional aesthetic.

How do I ensure my cabinet boxes are perfectly square?

Measure diagonally from the top-left corner to the bottom-right corner, then from the top-right to the bottom-left. If those two measurements are identical, your cabinet assembly is perfectly square.

Should I paint or stain my cabinets before or after installation?

It is highly recommended to apply your primer, paint, or stain finishes before final installation to avoid drips on your walls or floors and ensure complete, even coverage in tight corners.

What is the standard height for kitchen base cabinets?

The standard finished height for a base cabinet is 36 inches, including a standard one and a half-inch countertop, meaning the wood cabinet box itself should be constructed at exactly 34 and a half inches tall.

Can I build cabinets using MDF instead of plywood?

Medium-density fiberboard can be used for door panels because it takes paint exceptionally well, but it is not recommended for structural base cabinet boxes due to its weight and vulnerability to moisture damage.

Bringing Your Vision Together

Building your own cabinetry is an incredibly rewarding process that alters the utility and value of your home. By taking your time with the initial layout, choosing stable plywood sheets, and keeping your assembly perfectly square, you will achieve professional results that endure decades of daily kitchen activity.

If you are ready to upgrade your entire kitchen space and want beautiful surfaces to complement your new woodworking project, our team is here to help guide your selections. Contact us today to explore premium flooring options that bring your custom design together flawlessly.

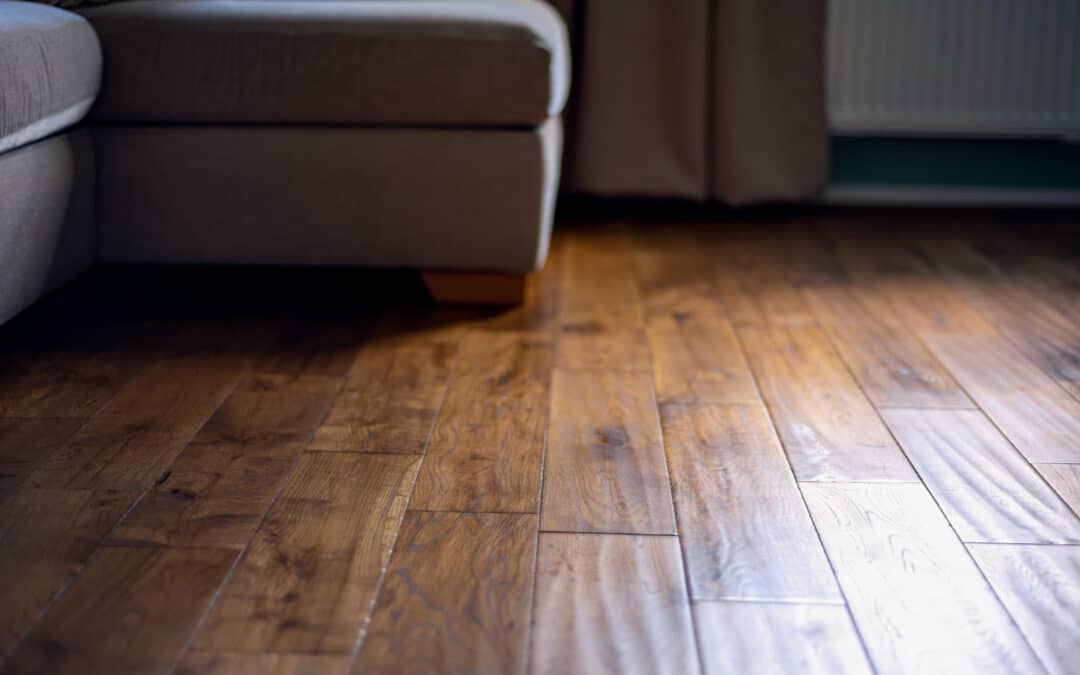
Affordable Flooring and Remodeling: The Complete Homeowner Guide

Affordable Flooring and Remodeling: The Complete Homeowner Guide

Flooring

To achieve affordable flooring and remodeling, property owners must balance strategic material selection with targeted structural updates. Success relies on identifying high-ROI projects, sourcing cost-effective alternatives such as luxury vinyl plank, and carefully planning structural changes to minimize labor costs while maximizing aesthetic and functional value.

Investing in home improvements should never require compromising on structural integrity or aesthetic appeal. Many property owners mistakenly believe that achieving a premium look requires an astronomical budget.

By understanding the mechanics of material sourcing and labor optimization, you can execute a stunning transformation seamlessly. This comprehensive guide covers strategic planning, value engineering, and smart design choices for budget-conscious homeowners.

Strategic Planning for Budget-Conscious Renovations

The foundation of any successful home transformation lies in meticulous pre-construction planning. Without a defined scope of work, material costs and labor expenses can quickly spiral out of control.

Property owners should categorize updates based on immediate necessity and overall return on investment. Focusing on high-impact areas ensures that every dollar spent actively enhances the property’s market value.

Kitchens and bathrooms yield the highest equity returns, making them ideal focal points for a targeted renovation. Updating these zones simultaneously often lowers overall labor rates, as trade contractors can complete multiple tasks during a single site visit.

Smart Material Selection: High Style for Less

Achieving a high-end look on a budget requires understanding modern material alternatives. Advanced manufacturing processes have created highly durable options that mimic premium natural materials flawlessly.

Premium Material Option Cost-Effective Alternative Primary Practical Benefits
Solid Engineered Hardwood Luxury Vinyl Plank (LVP) 100% waterproof, scratch-resistant, rapid locking installation
Natural Marble or Granite Premium Quartz or Large Porcelain Tile Non-porous surface, stain-resistant, zero routine sealing required
Custom Wood Cabinetry Refaced Cabinets with Shaker Doors Drastically lower material cost, faster turnaround time

Implementing luxury vinyl plank across large surface areas provides a uniform appearance that visually expands the living space. This choice ensures a beautiful surface that handles high foot traffic and moisture effortlessly.

Person adding wood tiles

Value Engineering Your Next Home Remodeling Project

Value engineering means reducing unnecessary expenses without compromising the building’s final quality or safety. Homeowners can implement several professional construction strategies to keep their projects highly cost-effective.

Preserve the Existing Layout and Plumbing Footprint

Moving plumbing lines, gas connections, or load-bearing walls adds significant complexity and engineering costs to a project. Keeping your sinks, appliances, and toilets in their original locations allows you to allocate more budget toward premium finishes and visible upgrades.

Prioritize Architectural Lighting and Hardware Updates

Minor decorative adjustments frequently create the most noticeable visual transformations. Replacing outdated brass hardware with matte black or brushed nickel alternatives instantly modernizes a space. Adding strategic LED recessed lighting brightens dim rooms, making the entire floor plan feel larger and more upscale.

Opt for Multi-Room Flooring Continuity

Purchasing your floor coverings in bulk quantities reduces the base cost per square foot significantly. Installing the same style throughout the main living areas eliminates awkward transitions, matches any interior design style, and simplifies the overall installation process for the field crew.

Step-by-Step Execution for Maximum Savings

  1. Establish a Complete Project Scope: Detail every single fixture, paint color, and material preference explicitly before any physical work begins to avoid costly mid-project change orders.
  2. Order Bulk Materials Early: Secure your floor coverings, tile, and major fixtures well ahead of schedule to protect against supply chain delays and sudden price inflation.
  3. Prepare the Workspace Thoroughly: Clear the rooms completely and remove fragile items to give the installation crew immediate, unobstructed access to the work area.
  4. Maintain a Project Contingency Fund: Always set aside 10 to 15 percent of the total budget to comfortably cover unexpected subfloor repairs or minor electrical updates that may be discovered during demolition.

Frequently Asked Questions

What is the most affordable flooring option that still looks high-end?

Luxury vinyl plank (LVP) is widely considered the top choice for balancing cost and premium aesthetics. It replicates the detailed grain patterns and textures of real hardwood while offering complete waterproof protection and exceptional scratch resistance at a fraction of the price.

How can I save the most money on a kitchen remodeling project?

The most effective way to lower kitchen costs is to keep the original layout intact and reface or paint the existing cabinet boxes rather than purchasing new units. Upgrading the countertops and hardware will complete the modern transformation at significantly less cost.

Is it cheaper to install new floors before or after painting?

It is generally best to handle the interior painting first. This sequence completely eliminates the risk of accidental paint spills, splattering, or ladder scratches that could damage your brand-new, pristine floor surfaces during the remodeling process.

How do I prevent my home renovation from going over budget?

Prevent budget overruns by finalizing all material choices and layout details before demolition. Mid-project design changes and unexpected structural alterations are the primary reasons home improvement projects exceed their initial financial estimates.

Can affordable remodeling materials actually last long term?

Modern budget-friendly materials like porcelain tile and high-grade vinyl plank are engineered specifically for extreme durability. When installed correctly over a flat, stable subfloor, these materials often outlast traditional alternatives with minimal maintenance.

Start Your Home Transformation Today

Achieving a beautiful, modern home does not require an overextended budget. By focusing on smart material alternatives, keeping structural layouts efficient, and working with experienced professionals, you can seamlessly maximize your property’s value.

If you are ready to update your space with high-quality craftsmanship, reliable timelines, and budget-conscious design solutions, our expert team is here to guide you through every step of the process. Contact us today to schedule your personalized consultation and receive an accurate, detailed estimate for your upcoming project.